CameraWebServer(web_cam)ではなくて、Arduino IDEのesp_camera_fb_get()で撮った画像を確認のため簡易的に見たかったので、Processingを使ってPC上で表示&保存できるようにする。
概要
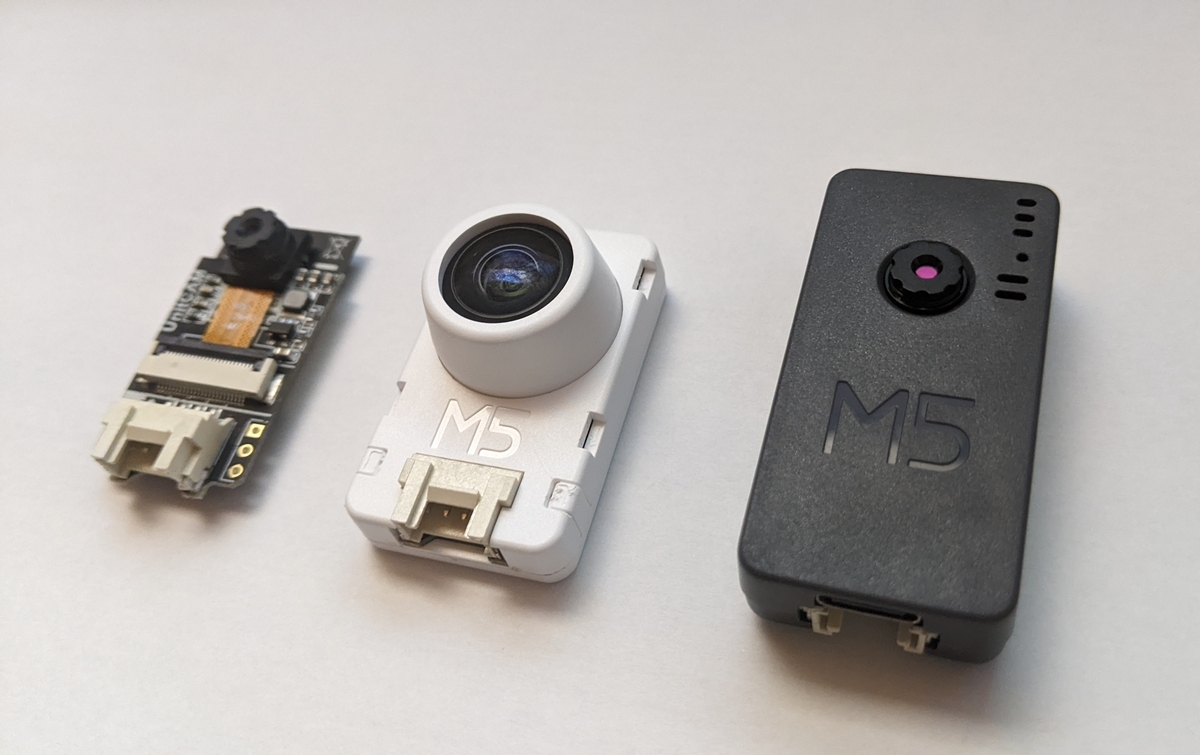
- 送信側:Timer Camera / Unit Cam
- 受信側:Processing
- シリアルからデータを受信して、jpegファイルとして保存→その後保存したファイルを画面表示
- 注意
コード
送信側:Timer Camera / Unit Camのコード (Arduino IDE)
#include "esp_camera.h"
#include "camera_pins.h"
void setup() {
    Serial.begin(115200);
    camera_config_t config;
    config.ledc_channel = LEDC_CHANNEL_0;
    config.ledc_timer   = LEDC_TIMER_0;
    config.pin_d0       = Y2_GPIO_NUM;
    config.pin_d1       = Y3_GPIO_NUM;
    config.pin_d2       = Y4_GPIO_NUM;
    config.pin_d3       = Y5_GPIO_NUM;
    config.pin_d4       = Y6_GPIO_NUM;
    config.pin_d5       = Y7_GPIO_NUM;
    config.pin_d6       = Y8_GPIO_NUM;
    config.pin_d7       = Y9_GPIO_NUM;
    config.pin_xclk     = XCLK_GPIO_NUM;
    config.pin_pclk     = PCLK_GPIO_NUM;
    config.pin_vsync    = VSYNC_GPIO_NUM;
    config.pin_href     = HREF_GPIO_NUM;
    config.pin_sscb_sda = SIOD_GPIO_NUM;
    config.pin_sscb_scl = SIOC_GPIO_NUM;
    config.pin_pwdn     = PWDN_GPIO_NUM;
    config.pin_reset    = RESET_GPIO_NUM;
    config.xclk_freq_hz = 20000000;
    config.pixel_format = PIXFORMAT_JPEG; // jpeg出力
    config.frame_size   = FRAMESIZE_QVGA; // 320x240
    config.jpeg_quality = 10; // jpeg品質 0(高品質)~63(低品質)
    config.fb_count     = 1;
//    config.fb_location = CAMERA_FB_IN_DRAM; // Unit Camの場合はコメントアウト外す

    // カメラ初期化
    esp_err_t err = esp_camera_init(&config);
    if (err != ESP_OK) {
        Serial.printf("Camera init failed with error 0x%x", err);
        return;
    }
}

void loop() {
  // 画像取得&送信
  camera_fb_t *fb = esp_camera_fb_get();
  if (fb) {
    Serial.write(fb->buf, fb->len);
    Serial.flush();
    esp_camera_fb_return(fb);
  }
  delay(5000);
}
")
受信側:Processingのコード
import processing.serial.*;

String FILE_NAME = "output.jpg";
int SERIAL_PORT_NO = 0;

Serial myPort;
byte[] output = new byte[0];
int time = 0;

void setup() {
  // シリアルポート番号表示
  show_serial_list();

  size(320,240);
  myPort = new Serial(this, Serial.list()[SERIAL_PORT_NO], 115200);
}

void draw() {
  // シリアル受信が1秒以上間が空いた かつ outputにデータが溜まっている場合書き出し
  if((millis() - time > 1000) && (output.length > 0)){

    // バイト列を画像ファイルとして書き出し
    saveBytes(FILE_NAME, output);
    output = new byte[0];

    // 書き出したファイルを表示
    PImage captureImage = loadImage(FILE_NAME);
    image(captureImage, 0, 0);
  }
  else{
    // シリアル受信
    byte[] buf = new byte[1000];
    if(myPort.available() > 0){
      int readBytes = myPort.readBytes(buf);
      println("read : " + readBytes + "bytes");
      for(int i = 0; i < readBytes; i++){
        output = append(output, buf[i]);
      }
      time = millis();
    }
  }
}

// シリアルポート番号表示
void show_serial_list(){
  String serial_list[] = Serial.list();
  for (int i = 0; i < serial_list.length; i++){
    println(i + " : " + serial_list[i]);
  }
}
- シリアルポートが複数ある場合、通信したいポートの番号をSERIAL_PORT_NOに記載する
- 「0 : COM10」などとコンソールに出るので、COM10で通信したい場合は「0」を記載

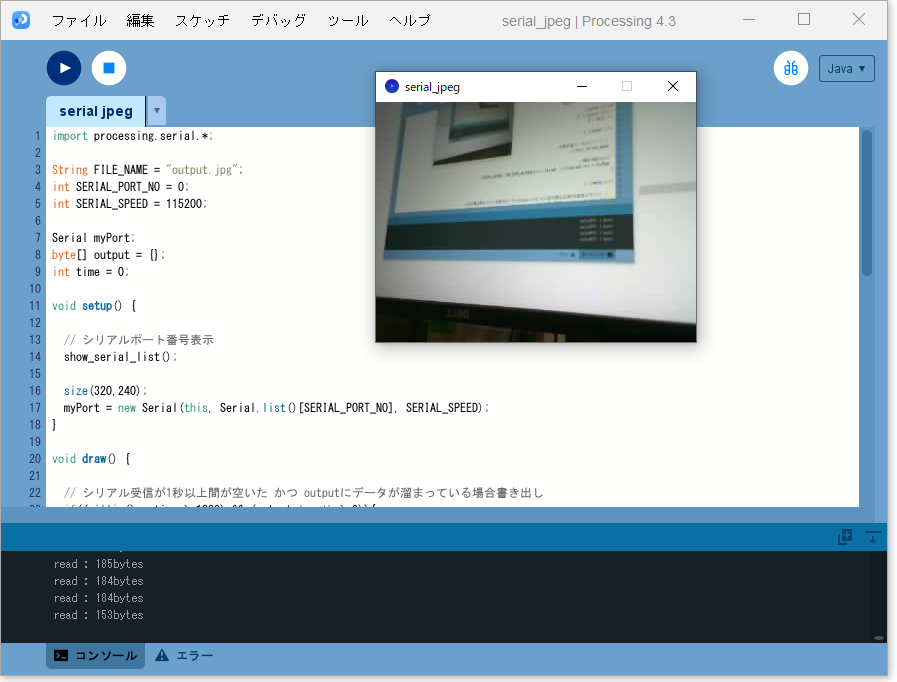
表示結果
見れた!
Processing初めて使ったけど、導入楽だし、軽いし、画像表示やりやすいし中々いいね